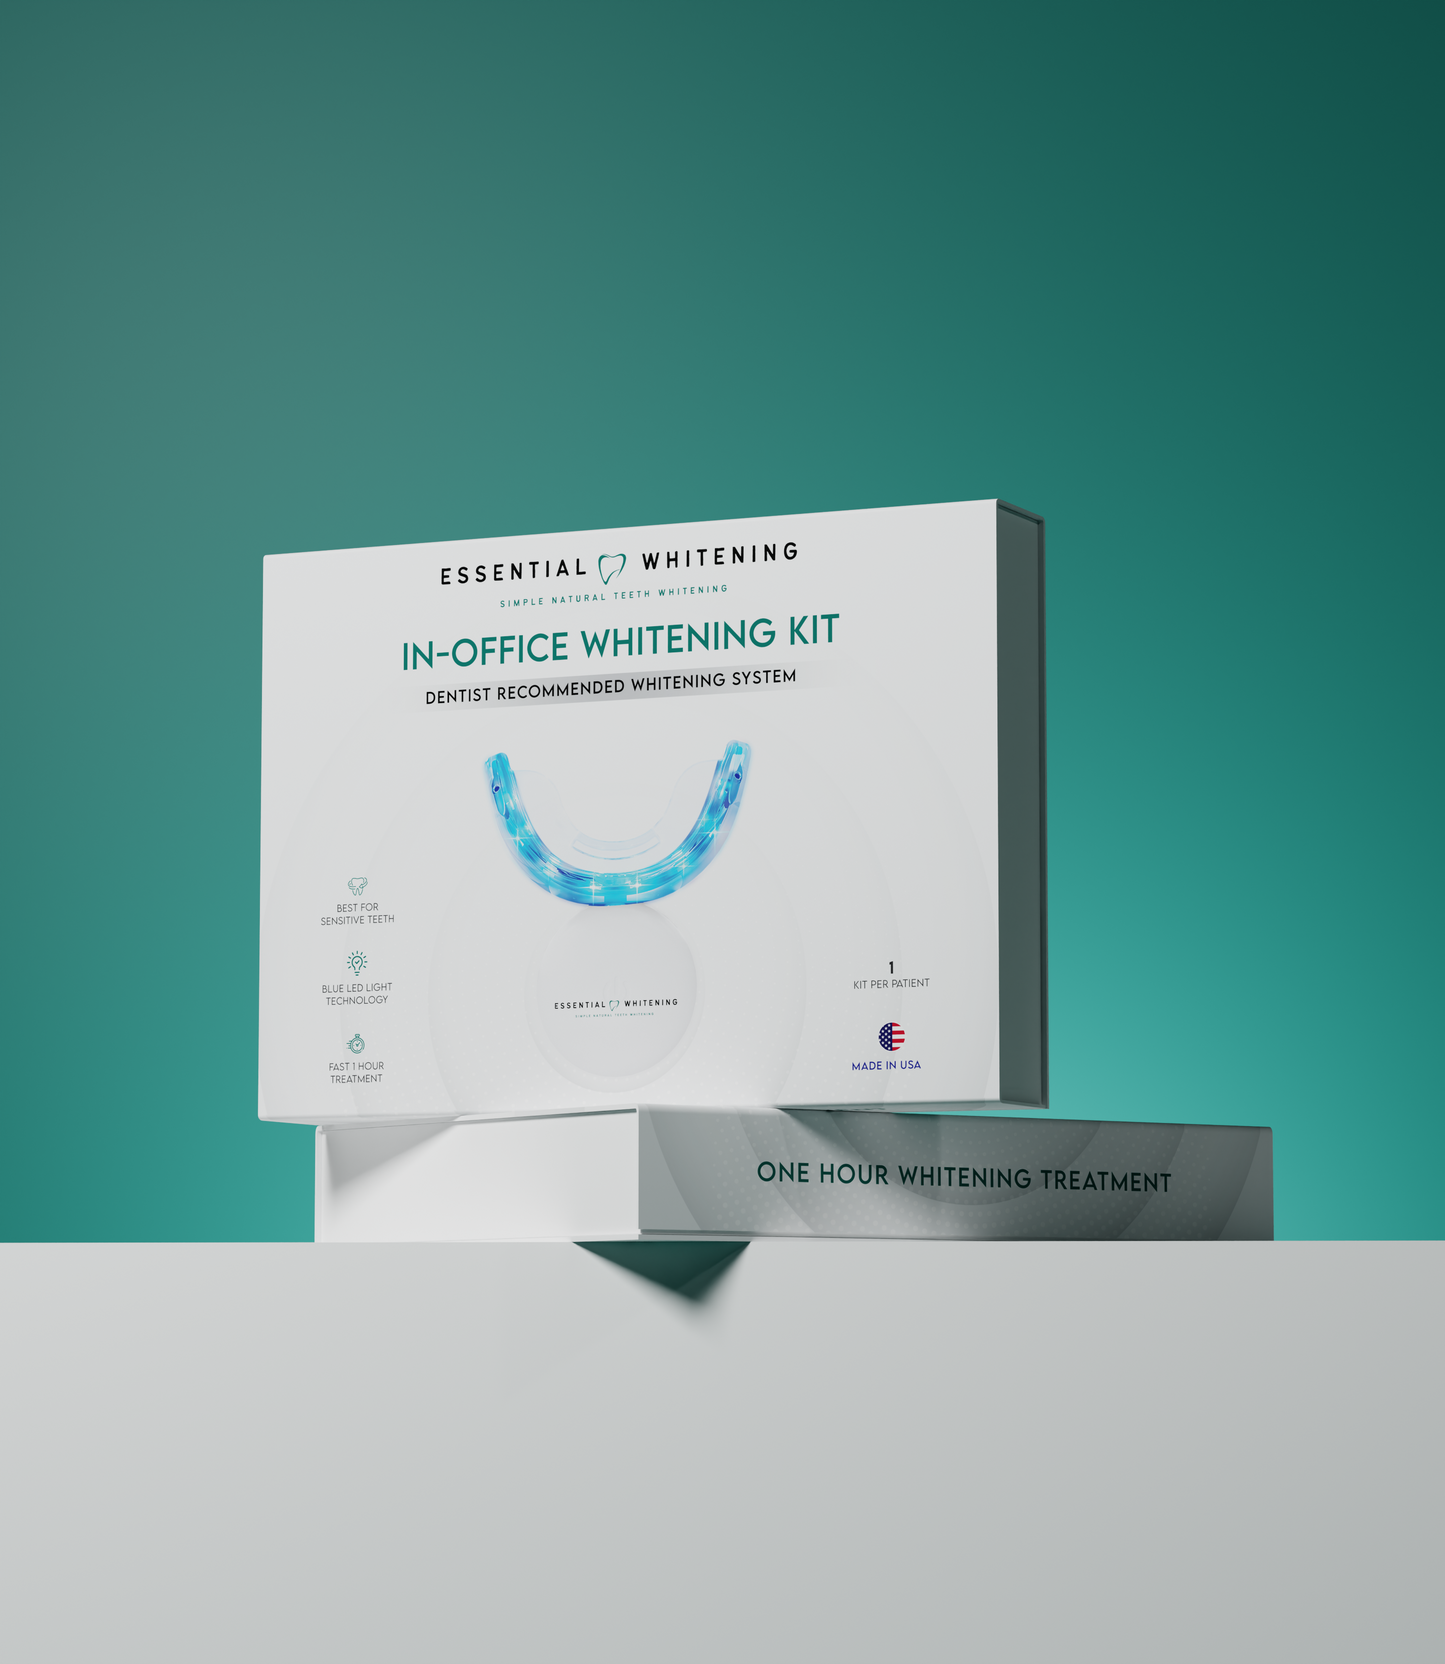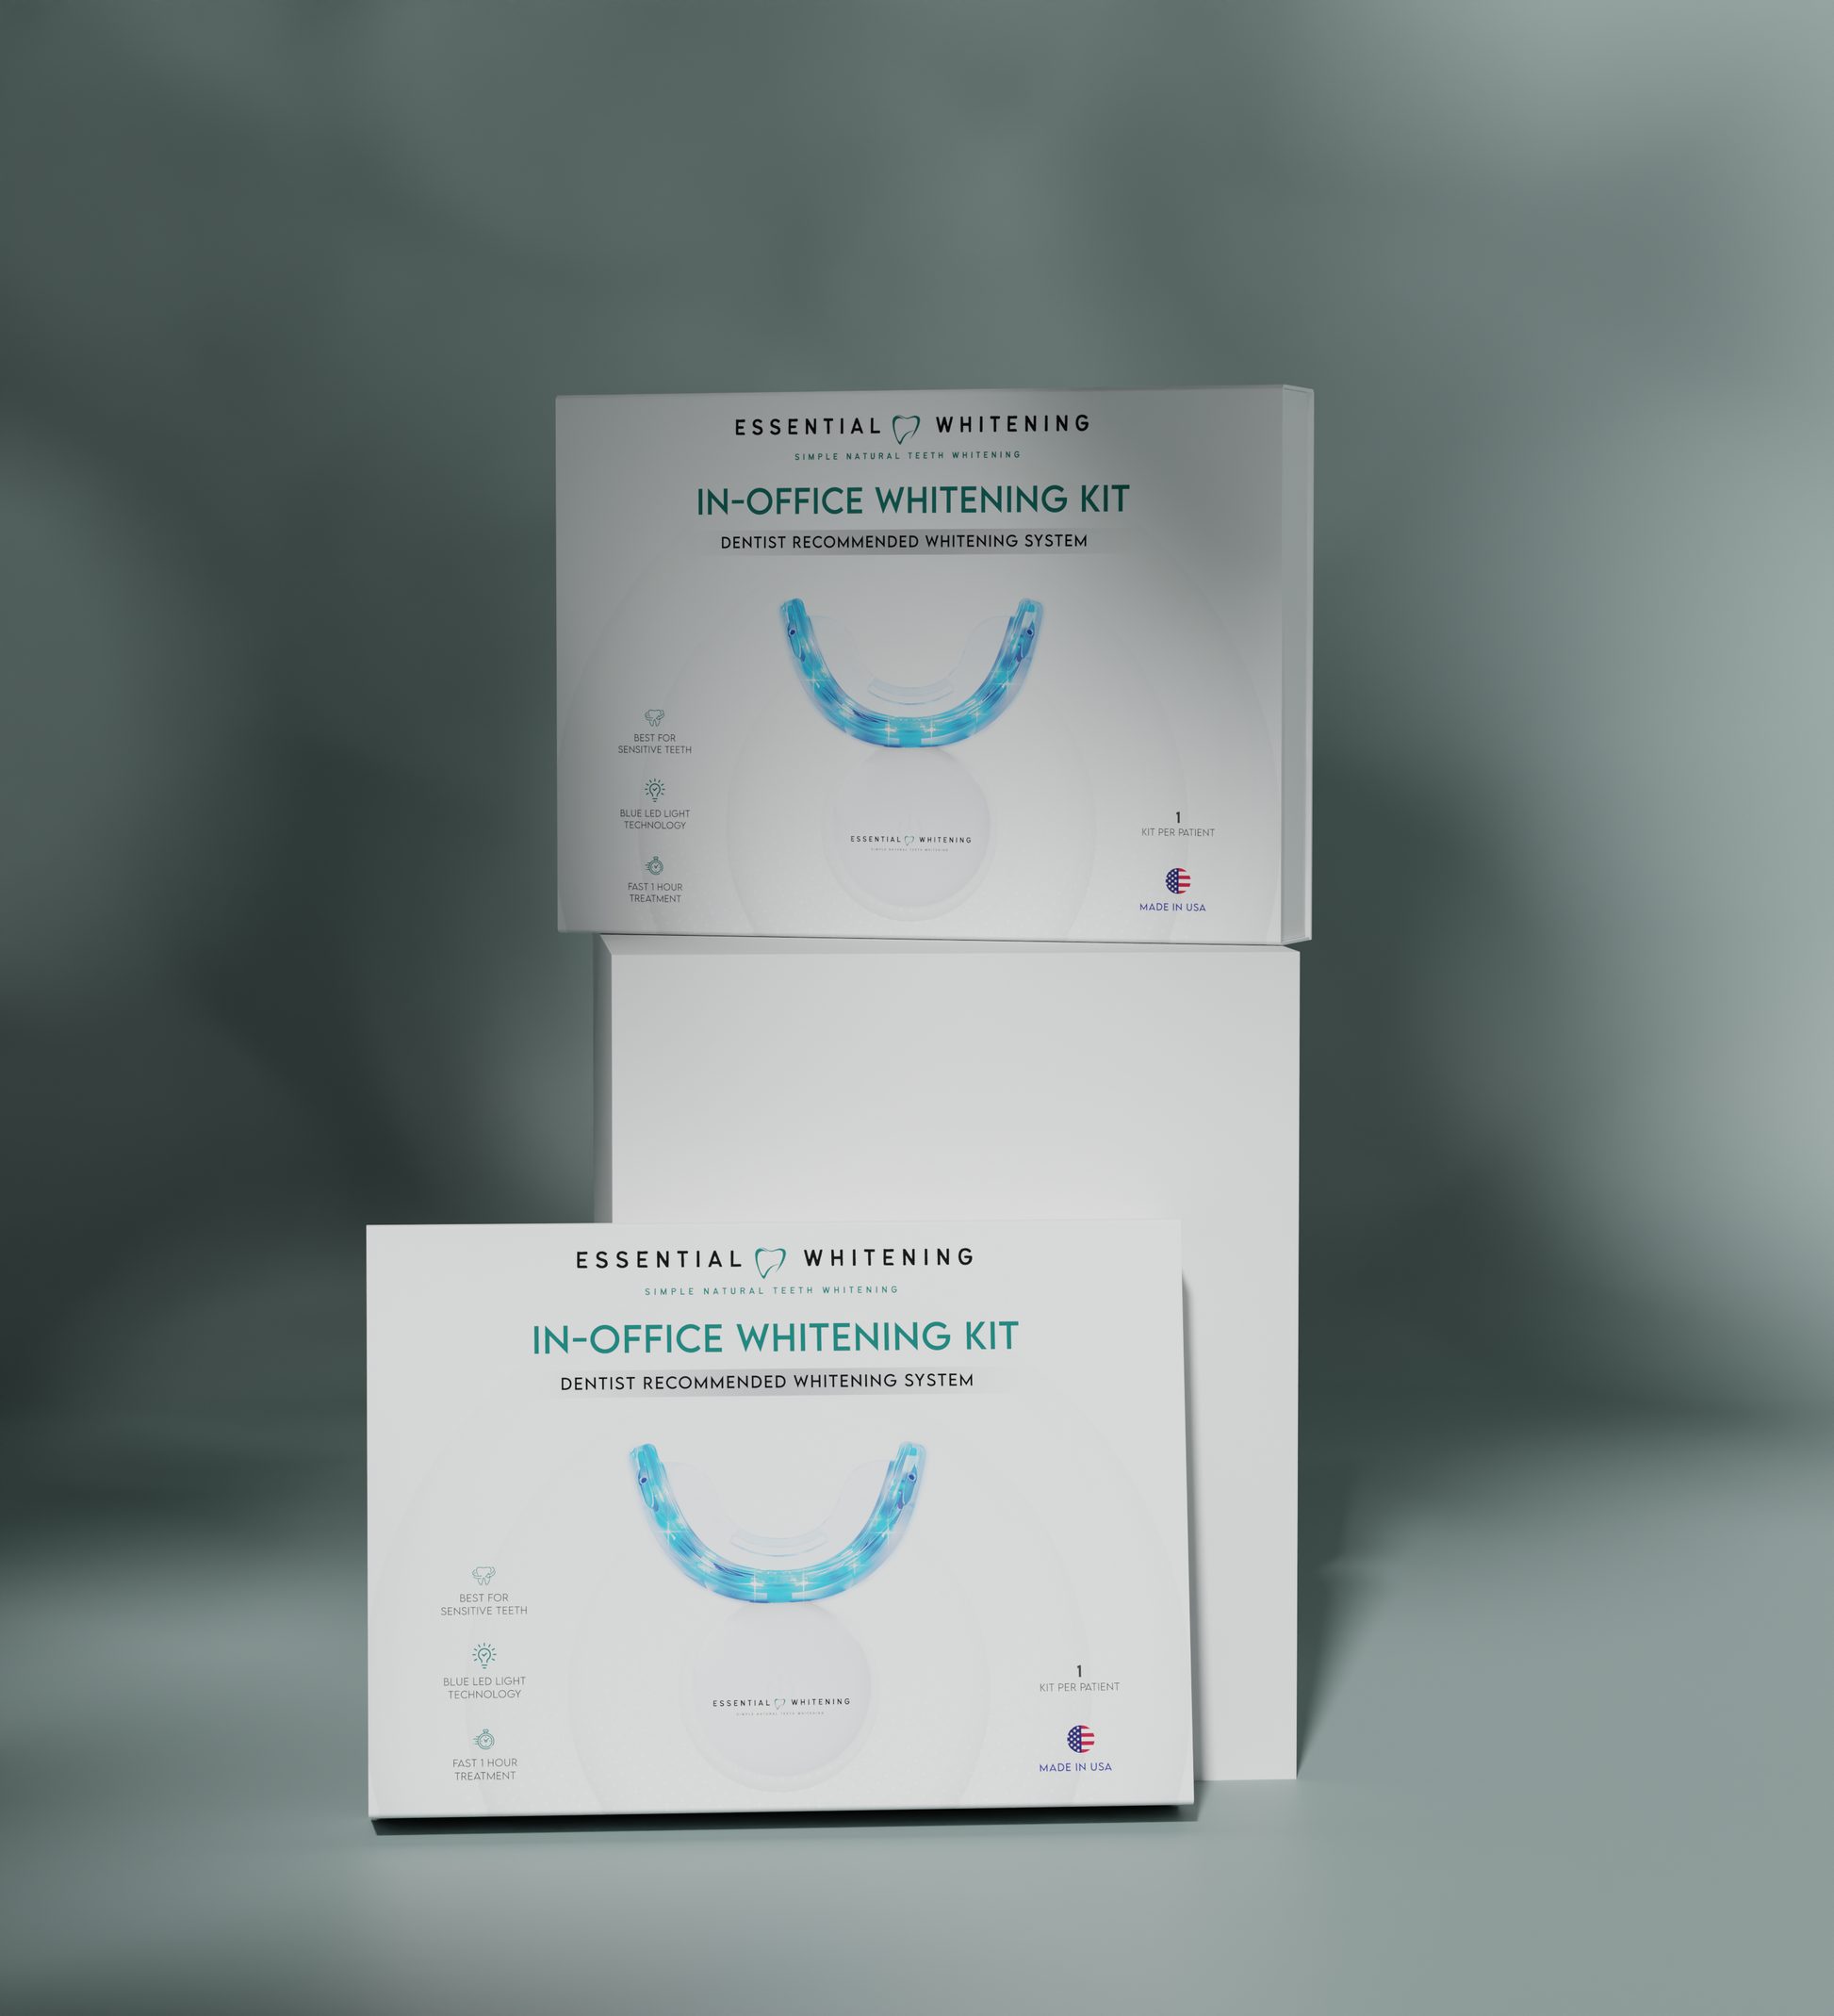


ESSENTIAL WHITENING CHAIRSIDE KIT
ESSENTIAL WHITENING CHAIRSIDE KIT
Dental Office Pricing
Create an account or log in to view wholesale pricing and place an order.
Volume discounts available for 8, 12, and 15+ kits.
Couldn't load pickup availability
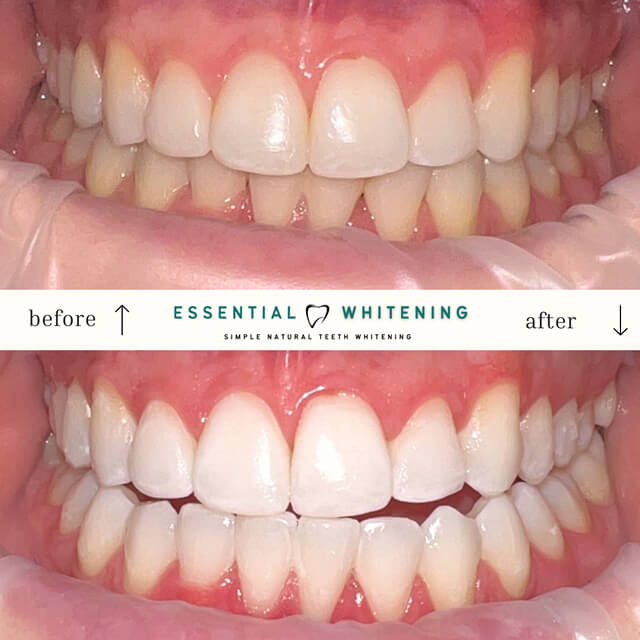
See the Treatment in Action

Why Choose This Kit?
Why Choose This Kit?

System Features
System Features

What Patients Take Home
What Patients Take Home

Ideal For
Ideal For

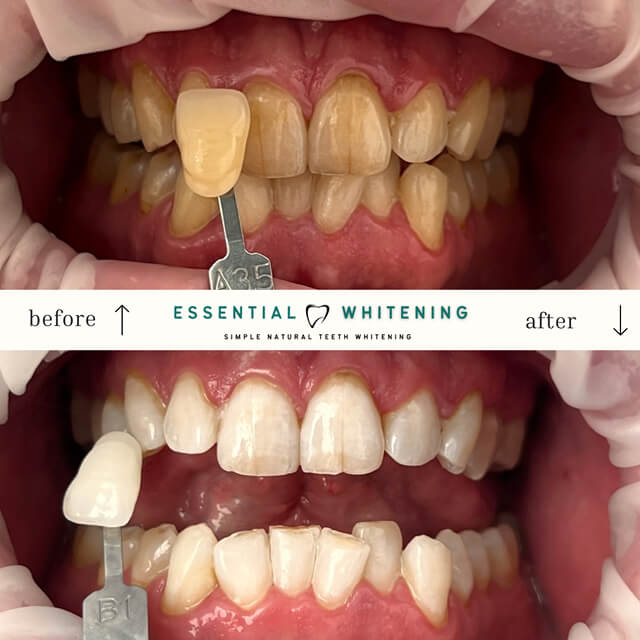
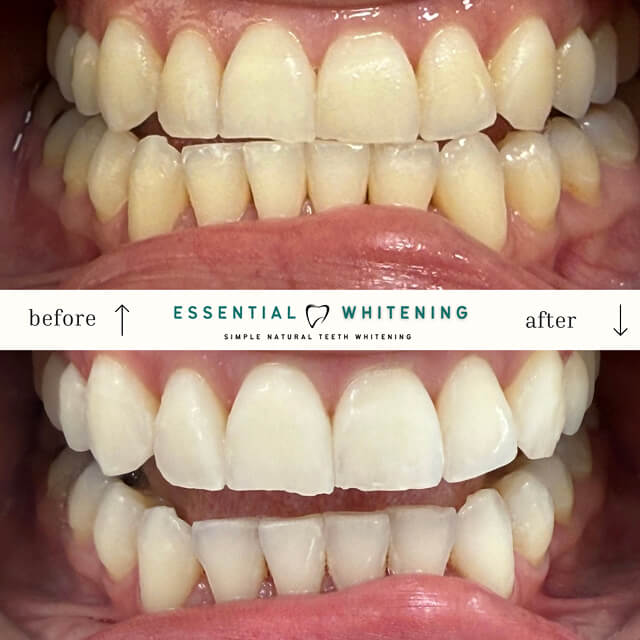
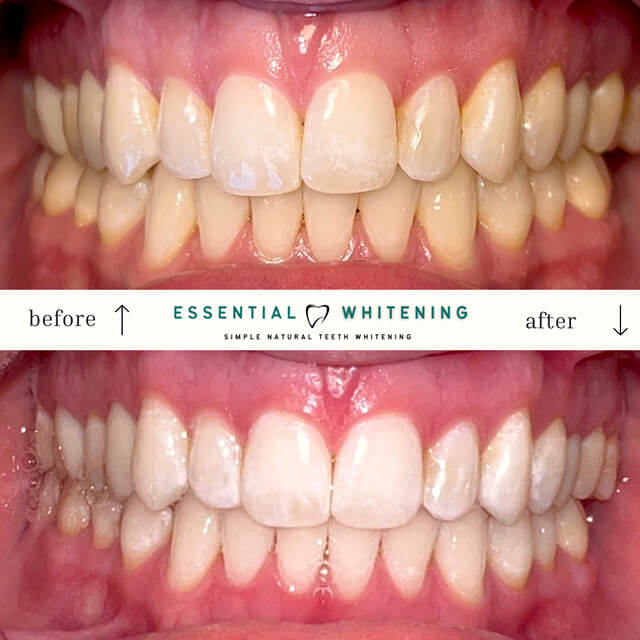
The Result
The Result

What's Included In The Kit
What's Included In The Kit

Chairside Directions
Chairside Directions

Post-op Patient Instructions
Post-op Patient Instructions

How Does That Work
How Does That Work